Thursday, February 27, 2014

My HOPE is found


I have often expressed my Faith here. 

I am a fallen - very human - sinner.
Saved by Grace.

This is not a post about all of that.  

It is a post about is HOPE. 

Every time I think I am at the end of my rope, HOPE is there. 

It may come in the form of a smile. 

An unexpected blessing. 

Even as a stillness of peace feeling in the core of my being. 

Every single time I need HOPE, it has been delivered. 


 Photo taken in Jones Chapel UMC cemetery Danielsville, GA

I knew when I was selected for the design team, that I would try to make an angel. 

I kind of knew what she would look like. 

But even I am surprised at her. 

Wonderfully surprised. 

She's a tribute piece for so many people. 

So many thank yous that need to be said.

Over and over. 

Photo taken in Jones Chapel UMC cemetery Danielsville, GA 

Sunday morning was glorious. 

I took her out in the sunshine.

In the church cemetery, with the idea of her picture at the foot of Jesus.

Then as I strolled through the cemetery, I saw all of the children's graves.

Made me wonder about those families. 

Made me wonder if they kept their HOPE after such a horrible loss.

Wonder what HOPE for better things means to me. 

And to others. 


A close up of one of my favorite creations ever. 

A full tutorial for her can be found at the Globecraft and Piccolo blog today. 

Life is Beautiful.


Wednesday, February 26, 2014

Just for fun - and just for me....


I so very rarely create with absolutely no idea what I'm going to make or where it is going. 

Even less often - do I make anything for myself. 

This post is all about both of those things. 

It's also about this little issue I have with  hoarding 

 uh - 

 I mean keeping good stuff. 

I have this storage box - and even though I posted that it was an organizing tool - the damned organization just magically undid itself. 

I got into the habit of stuffing floss leftovers in the top compartment. 

Resulting in this. 


This is all good quality floss - but not numbered. Most of it is left from kits. Or came in a sewing box I gathered up while thrifting.  Just a jumble of threads. 

I'll be 49 in July. (I know that seems random, but it isn't)

I was stuffing yet another bit of floss into the compartment and I decided that I MAYBE could make an "inchie" sampler for myself out of this box. 

So off to the studio for a bit of 14 count cream AIDA cloth. 

I put inchie in quotes because I'm doing 10x10 stitch squares instead of 14x14.

But I started a square with the first color I grabbed from the box. 
It will be 7x7 squares - each a different color. 
Then I'll embellish it to MY liking. 


Well - I had lots of that floss color left - so I gathered me some scraps of other cross stitch fabrics.

Because I keep all kinds of good stuff

Then I randomly started stitching. In repeat type patterns using that color. 

When I get one finished (or to a stopping point) , I tuck it in my cheese dome. 


Then I wind the remaining floss and put it into a compartment in the bottom of the storage box. 

Not tangled and easy to use. 


Yes - the button was in that danged mess from the first picture. 


This is one of my favorites. Three stitch stair steps.


I keep the whole shebang in a plastic bag by my chair. Grab it and stitch a bit most nights. 

The repetitive stitching and easy patterning are relaxing and since there is no "deadline" or even a "planned use" for the these I feel no pressure working on them. 


In the picture above, see that bit to the far left. Well often I have just enough floss for a few stitches left in the needle. For those bits, I grab this strip of the fabric and add stitches until that bit is gone. TOTALLY random numbers of stitches. It's a fun little piece. 


Then there is this little bottle. 

It came from Cracker Barrel

Held a single serving of their syrup. I kept it with the idea I could use it. (Remember - I keep all kinds of good stuff.)

I have stuffed thread bits in it for years. 

I started stuffing when I made the stitching for the pillow from this post.

Mostly because so much of that stitching was done in the car and or at various ball games and I needed a way to corral them. 

I keep stuffing - and its funny, I can remember where a lot of the visible threads were used. I'll keep saving them and then someday it will be full. Then I can sit it on a shelf and one day, my kids can say 

"see my mama had issues, she even kept this REALLY GOOD stuff." 
As I wrote this - I actually giggled out loud. 

It's really just a fun little bottle that has no purpose at all other than to corral the trimmed bits. But it makes me smile to look at it. 

So there - 

I'm organizing stuff.

I'm kind of using the stuff. 

I'm creating and I NEED to create for my sanity. 

This creating is NOT costing me any extra money. 

But - aside from the "inchie" sampler I'm making to commemorate my 49th year - now I need to find a use for these little stitched bits. 

Or maybe I can just keep them. 

Because - well - you know - I KEEP SOME REALLY GOOD STUFF.

Life is beautiful. 


Thursday, February 20, 2014

denim blues

It's new release week. And my-oh-my are the new items wonderful. Teresa here today with some great earrings that are just prefect to dress up my daily blue jean and t-shirt wardrobe. 


Lets get started.


From Globecraft and Piccolo you will need:
Vintage Corner Flourish Piccolo Set A157
Glasstique Gloss Finishing Glaze
- Embossing Adhesive
Deep Blue Sky Embossing Powder - this is a fine detail powder that can easily be used for stamped images.
French Loop Earrings 

You will also need
- assorted beads for the charm in the center
- jump rings
- 2 short pieces of fine silver chain
- assorted jewelry assembly tools
- heatgun


Now then let's get started.


I took two of the Flourish Piccolos and decided quickly that I did not want those extensions on them. These are laser cut from book board and are easily trimmed with scissors.  The top flourish has the extended parts and the bottom one has been trimmed.


After trimming the Flourishes, I embossed both sides of each with the Deep Blue Sky Powder. (every time I try a new powder it becomes my favorite)

I put three layers of powder on these.  The process of embossing takes just minutes,  so layering is easy to accomplish.


Just look at those gorgeous blue tones.


To strengthen and gloss up the finish, I cover the shapes with gloss Glastique Glaze. For the fine detail on these, I squeezed a bit of the Glastique onto a tiny paint brush and simply brushed it on.

Then I patiently waited for it to dry.


I gathered up my other bits while those were drying. You see two different charms there. I had a difficult time deciding which to use.


Just look at that blue.

After the shapes were dry, I added the chains to the tops of the curls with jump rings.

Added the charms (I finally decided the blue grey and silver looked best) and hooked through the earring loops.

Ready to wear.


The book board is light weight so these are VERY comfortable to wear. They can easily be customized for your wardrobe. Just pick your favorite color of the embossing powders.

There are some wonderful items in the NEW RELEASE section of the web site.

Have a beautiful day.

Friday, February 14, 2014

snowcation


So, I live in the south of the good old USA. 

Yes, that South. 

The one that completely had gridlock in Atlanta a few weeks back with all of 2" on the ground. 

And we just had a huge double whammy of a snow storm for here. 

This is unusual and I was super excited. 

Cabin fever --- nope absolutely not.

I also got out with my camera and cell phone and took a load of pictures as well. 

Like about a mile and a half worth of a long walk.

Even with all these pictures, my favorite sight is not in here. 

The red birds (cardinals) eating off my front porch was my favorite. Just beautiful, but the pictures were through the screen and while they make me smile, they just are not good enough to publish. 


My "big barn" from the back side. 

This is the most photographed barn in the county. 

All those vines are Trumpet vine and when it is full bloom,  IT IS STUNNING.


There was a time that I would have hated being out in the weather. 

Cold hands, feet,  ----- hated it. 

I really probably owe my children a big apology for that. 

But things have changed for me, living fully, INTENTIONALLY brings me out and into doing big, beautiful, new things. 

I am not who I used to be. 

Life means so much. I am so grateful. I love who I am becoming. 

It took having cancer twice to have this kind of appreciation for all kinds of experiences. 


The neighbors fenceline. 

It is beautiful here, and I smiled as I remembered Molly and Ben having their save the date pictures made here by little sister Abby. 

I am so glad those girls are close to each other. 


See those curved steps. 

I love those. 


The smokehouse out back. 

It sure would clear up this view if I took down that little cedar tree. But I happen to love little Charlie Brown trees and I cannot bring myself to cut it. 


And my RED porch swing. 

I don't know if I have shared that story. 

I had this unfinished porch swing. 

For Christmas, the man asked,  "what do you want for Christmas?'
I answered "my porch swing painted red."

For Valentines, he asked "what do you want for Valentines?"
I answered "my porch swing painted red."

For my birthday - same question
I answered "my porch swing painted red."

For our October anniversary - same question
I answered "my porch swing painted red."

For Christmas, the man asked,  "what do you want for Christmas?'
I answered "the same thing I wanted last year." 

And what seems like an eternity later, (reality about two years), I come home one day. 
And my porch swing is painted RED. 

I do love it ---- RED. 

And I have spent hours in this swing. 

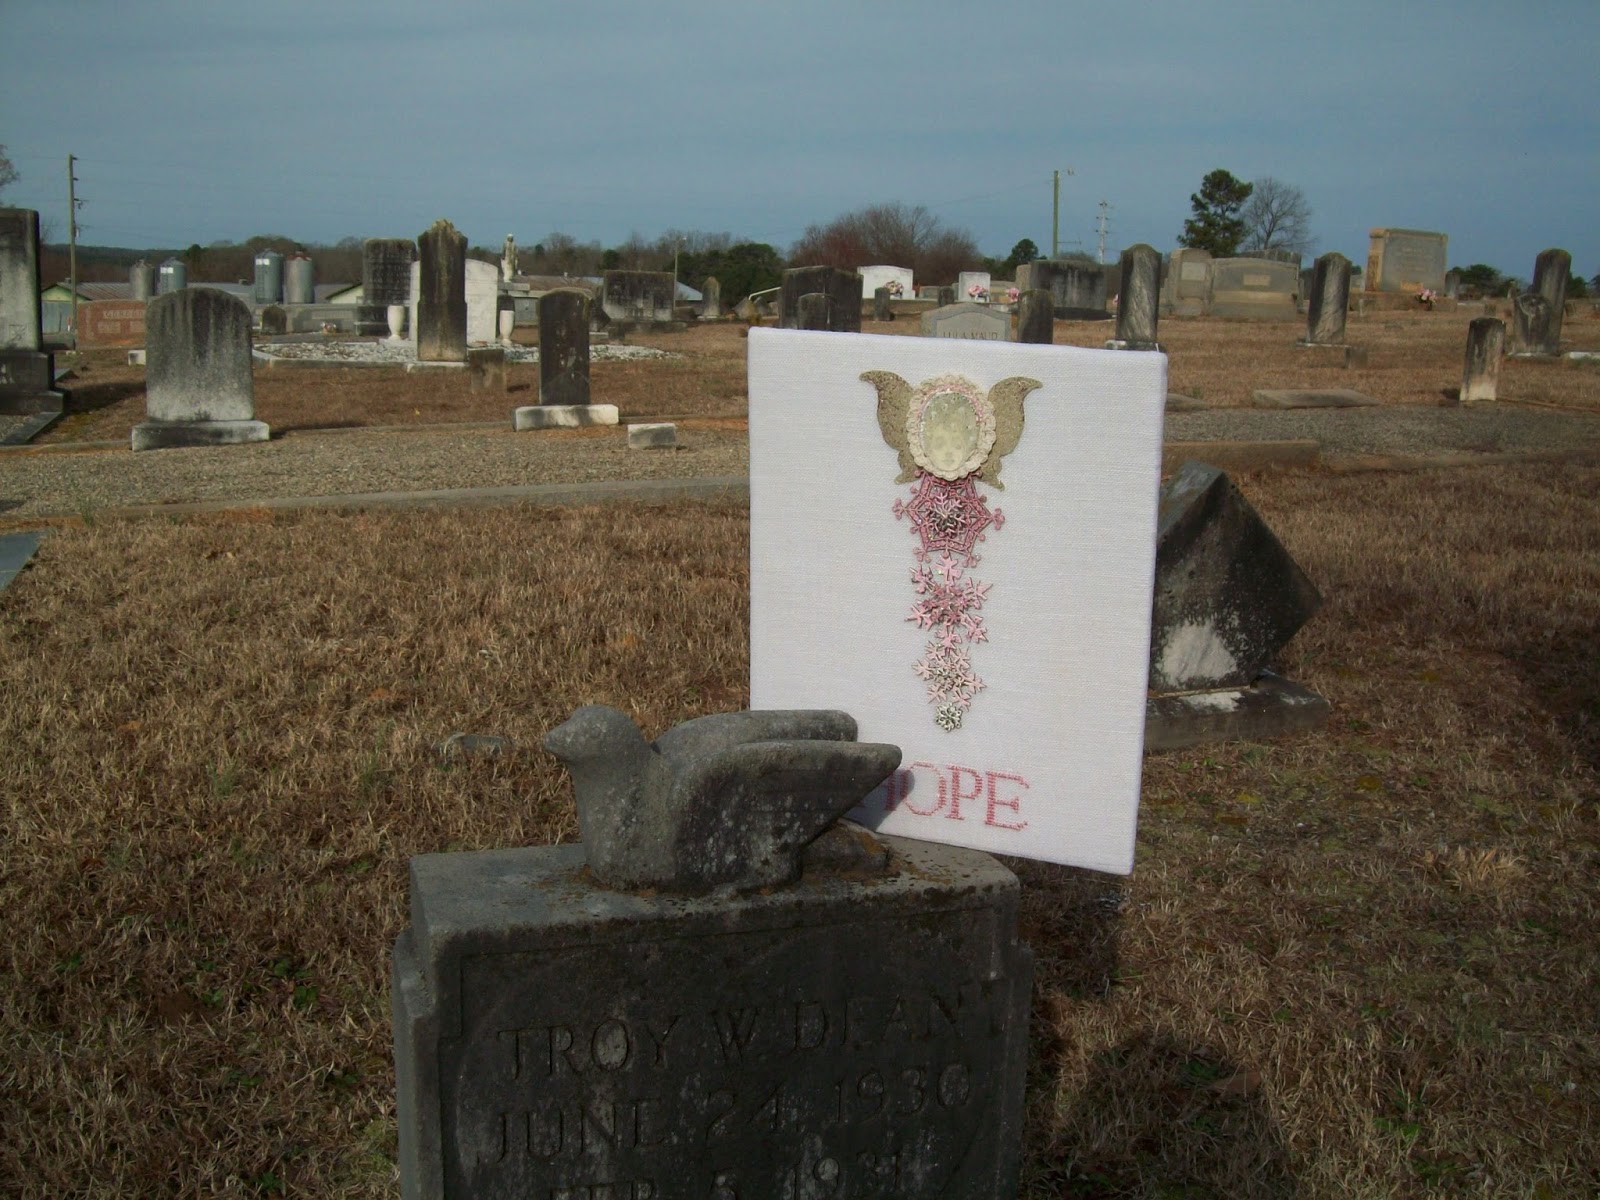
and now for my favorite image from the storm. 


The wedding candolier has been sitting on the porch corner 

Waiting to be hung. 

There it was immersed in the snow and it is quite lovely. 

I spent hours making this and so many other details for Molly's wedding. 

 One of the many labors of love to give her a special wedding day. 

I hope she knows how much of myself I poured into that day. 
The wishes for more help instead of feeling so alone, and the hopes she never feels that way.

But in pouring myself out, I was able to focus on beautiful things.

The prayers lifted for her and her future. 

The tears shed as I feared over disappointing her.

The joys I felt as I knew she was moving forward with a special man. 

I do hope both of my girls see the beauty of this place as HOME. 

I do hope I get the chance to spend many more beautiful moments with them in this place. 

My Snowcation was a wonderful reflective time. 

Cabin fever --- NOPE.

Loving my cabin sized HOME - yup. 

My life is beautiful.


Thursday, February 13, 2014

inspiration and how to get there.

Happy Thursday - Teresa here again today. 


Do you ever wonder how the creative mind works?
What inspires a craftsman?
Well - here is a tiny bit of insight and inspiration for you today?

Before we go too much further, lets go shopping. 

I used:
Vintage Flourish kit ( I used one of the small circles)
A single Jump Ring. 

Now for the Inspiration Part.

I keep clippings of all kinds. I have a serious Pinterest Account, but my favorite way to keep ideas is plain old notebooks. I've had this stone bezel taped in for a long time and when I saw the Mossy Glen Powder, I realized how the colors were similar to the green veins in this. (The stone is called a Tree Agate) 


I decided to try to mimic the stone


I decided to use the earring size circle from the Vintage Flourish set. 


I first embossed the back with Vintage Silver Powder. 
Three layers gives this smooth finish.

Then I turned the piece over and used three layers of Micro White on this side. 

Then I used a tiny Screwdriver blade from my toolkit as a scoop, and sprinkled the Mossy Glen Powder on the next bit of adhesive. 

More random is better. 


I heated everything again and left the bubbly holes in the finish - add a layer of Glastique gloss and it really does resemble a polished stone. 

Then I spied a button in my "favorites" jar. 

I flipped the charm over to that silver side and glued that button down using the Glastique. 


The picture above shows how I keep myself (and the cat) from touching the wet finish before it dries. 


Add a jump ring and a chain and you have a Stone Inspired pendant. 


That reverses to a a Vintage Button Side if you like. 

I do hope you are enjoying the posts every day. 
Just a few notes that I have learned about the company and the items. 

Globecraft Piccolo is a family owned business and it is a division of SweetStamps
The Piccolos are lazer cut at the home warehouse in Michigan. 
There is this great guy named Jeff who actually mixes the Embossing Powders there as well. 
If you meet Stacey (company owner) at a trade show, you will meet her husband and children. 
This makes this a Made in USA product. 

Come back tomorrow for even more inspirations. 

Thursday, February 06, 2014

heart of gold and pink and bronze

Well hello there ---- Happy Thursday all. 
Teresa here with a little bit of sweet love ornament just in time for Valentines' Day.

My taste runs a bit toward the more shabby toned colors so the ornament features some of that. 


So - let's go shopping.

Globecraft and Piccolo products used.
Embossing Powder Adhesive
- Assorted Embossing Powders
       - Cranberry Wine (on the Heart Piccolo)
       - Mardi Gras 
       - Victorian Bronze
       - Vintage Silver
       - Vintage Black (on the Key Piccolo)
Delicate Heart Earring Charms 
Cerchio Key Charm
Gloss Glastique

Extra goodies.
- three paper hearts (cut identically)
- fine gauge wire
- Assorted beads
- jump rings
- paper glue (I used a glue stick)
- a good glear gel glue.
- a heart stamp of your choice.


First - you can use the enamel adhesive  just like a stamp ink on your stamp.

Then stamp your paper hearts. I used assorted colors of the enamel powders.


On the heart above, I stamped the two Mardi Gras embossed hearts and heat set them. Then came back and stamped the Vintage Bronze heart and embossed it.

TIP ---- These are NOT fine detail powders.  There are assorted particle sizes in each jar. I poured out some of the powder on the hearts and dumped the excess off  for this part. That leaves mostly smaller bits on the paper to emboss.

Cover all three heart shapes as desired. Also notice that I have pre-scored a fold line down the center of the heart.


Now onto the Piccolos -

I covered both sides of the Delicate Heart Charm with the Cranberry Wine powder. Go ahead - click on that picture and just look at the sparkly bits in there.

After embossing the Heart,


I used the Gloss Glastique to protect and strengthen the shape. Cover one side and let it completely dry. then cover the other side as well.


Simply stunning. (I keep all the little punch out bits too. You will see that pretty heart shape from the center of this in a later project.)


Emboss the key charm with the vintage black powder and cover with the Glastique as well.

Now for assembly. Add a jump ring to the key. And tie on a very fine gauge wire.

Add beads to the wire.


Fold the three heart shapes in half and glue halves of one pair together. leave the other side unglued.

Add the third heart in the same way. But glue the two pieces together.

This will leave one flap open. Lay your beaded wire and key in that flap groove and glue with the gel glue. Then glue that flap closed. (let that dry)

Now add a few more beads and jump ring to the bottom of the heart charm. Tie off your wire to that jump ring.


Hang and enjoy. 

Now for the giveaway, each day this week we will chose one person from that day's comments to receive a $10 credit to the Globecraft Piccolo store.  Here are the rules:
  • Leave a comment on daily posts Sunday, February 2nd through Saturday, February 8th (comments here at MaggieGrace Creates do not count. You must go to the Globecraft Piccolo blog to comment. )
  • You must be a Follower of the Globecraft Piccolo blog
  • You must like us on Facebook (click on the Facebook tab at the top of the blog)
  • Only 1 comment per day per person
  • If you refer a friend and your name is mentioned in their comment, you will get a second entry to the drawing for that day
  • Winners will be chosen by Random.org and announced on Sunday February 9th
  • You can win on multiple days so be sure to visit each day
So to sum it up, we will be awarding 7 people who comment this week; Sunday, February 2nd through Saturday, February 8th a $10 store credit.  Good luck to you all.

Tuesday, February 04, 2014

heart of gold


I've been making things. Fun Valentiney things. Like these ornaments. And I am using things I already have.

 Full tutorial to come on Thursday.

Have a beautiful day.